
7 Ways to Modernize a Small Kitchen Layout That Works
Quick Summary
Modernizing a small kitchen starts with a planned small kitchen layout, measured accurately and drawn to scale before you touch walls or cabinets. Choose a plan such as galley, L-shaped, U-shaped, or single-wall based on your room size and how many people cook. Then plan storage up to the ceiling and place appliances to keep the work triangle tight.
Measure length, width, height, and every door, window, outlet, and vent before planning.
Draw the floor plan on graph paper at one square per 6 or 12 inches.
Galley plans suit narrow rooms about 7 to 10 feet wide.
Keep at least 36 inches of walkway for a one-cook kitchen and 42 inches where two people pass.
Work triangle perimeter of about 13 to 26 feet is a common guideline.
Ready to make your small kitchen work?
HELP! Remodeling LLC plans kitchen remodels for homeowners in Dayton, Ohio.
Table of Contents
Why Small Kitchen Layouts Need a Planning Process
Last Updated: November 15, 2026
A small kitchen can feel cramped, dark, and hard to work in, but a well-planned small kitchen layout changes all of that. The best results usually come from a clear plan before any walls or cabinets are touched. Guessing at layout is a common reason homeowners end up unhappy with a finished kitchen.
Planning matters more in a small space because every inch counts. A wrong cabinet position can block a door, a poorly placed sink can leave no counter beside the stove, and a fridge in the wrong spot can make the room feel tight. A planning process helps you catch these problems on paper, where changes cost nothing.
Here is what a good planning process gives you:
Accurate measurements that prevent costly surprises
A layout drawing you can review before making decisions
Storage that works from the floor to the ceiling
A clear workflow between the sink, stove, and fridge
Many homeowners skip this step and go straight to picking colors or finishes. That order often leads to regret. Start with the layout, then choose the look.
Step 1: Measure Your Space and Draw a Small Kitchen Layout Drawing
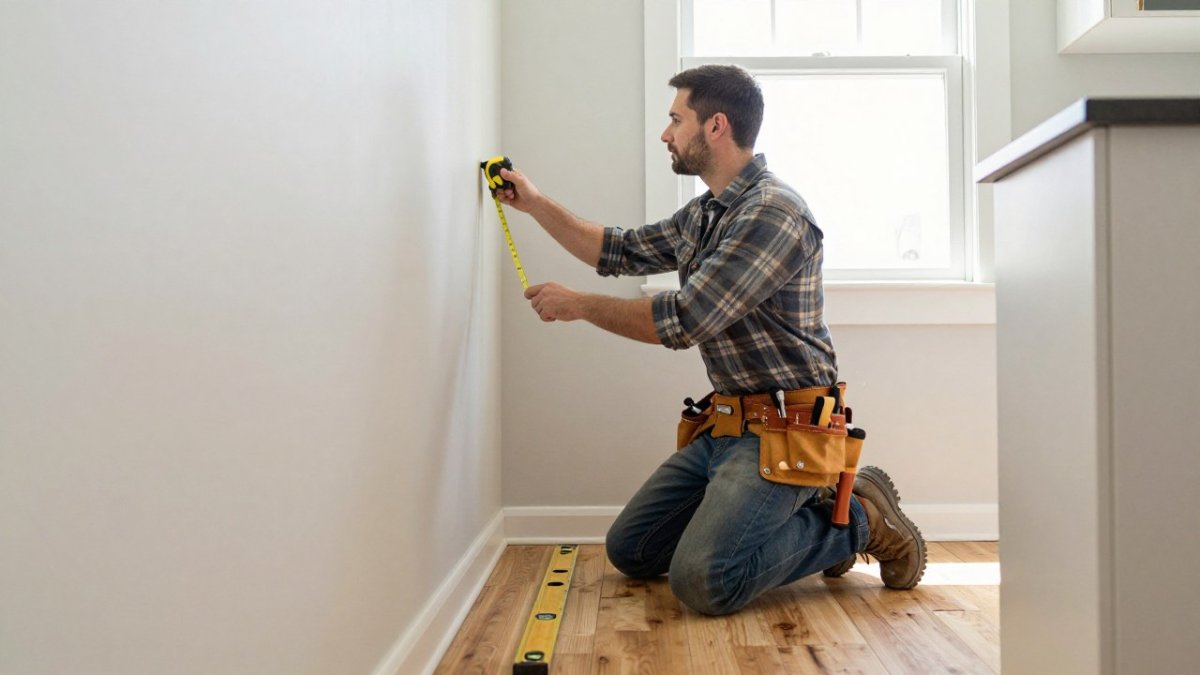
Before you plan anything, you need accurate measurements. Grab a tape measure, a notepad, and a pencil, and record the room's length and width. Measure the height from floor to ceiling, too.
Next, note the location of every door, window, outlet, and vent. These fixed points limit where cabinets and appliances can go. Mark where plumbing and gas lines enter the room if you can see them.
Once you have the numbers, draw a simple floor plan on graph paper. Use a scale of one square for every 6 inches or 12 inches. Sketch the walls, then add the fixed features you recorded.
Helpful tips for your drawing:
Draw the walls first, then add doors and windows
Mark the sink, stove, and fridge as small blocks
Measure appliance sizes before you place them on paper
Keep a copy so you can test different arrangements
A small kitchen layout drawing turns vague ideas into clear choices. You can move the blocks around and see what fits before spending a dollar.
Step 2: Choose the Right Layout for Your Room Shape
Your room shape and household habits should drive the layout choice, not the other way around. Most small kitchens fall into one of four plans, and each one carries real trade-offs in storage, circulation, and prep space. Use the decision guide below to match your dimensions and cooking patterns to a plan before you commit.

Galley (two parallel walls with a walkway between). Best for narrow rooms roughly 7 to 10 feet wide and 10 to 14 feet long. A galley concentrates the work triangle into a tight, efficient line and typically delivers the most linear cabinet feet per square foot. The trade-off is that two cooks cannot easily pass each other, and the walkway must stay clear.
L-shaped (cabinets along two adjoining walls). Best for rooms at least 8 by 8 feet where one corner is free. The L-shape opens the center of the room and leaves space for a small table or a landing zone near the door. It usually offers less continuous counter than a galley of the same size, so plan the longest uninterrupted run for prep.
U-shaped (cabinets along three walls). Best for rooms at least 9 by 9 feet with one open side. A U-shape delivers the most storage and counter of any small plan, but it also encloses the cook. Leave at least 42 inches between opposing counters, and do not put the range or sink at the closed end of the U where traffic funnels behind the cook. A U-shape in a room narrower than about 8 feet will feel like a tunnel.
Single-wall (everything along one wall). Best for rooms under 7 feet deep or open-plan spaces where the kitchen shares a wall with living space. A single-wall plan keeps the room visually open and is the most rental-friendly because it touches only one surface. The trade-off is limited counter and storage, so plan vertical storage to the ceiling and choose a counter-depth refrigerator to keep the aisle clear.
Match the plan to the household, not just the room. A single cook who mostly reheats and assembles meals is well served by a galley or single-wall plan.
Test the plan against clearances before you draw cabinets. As a working rule, keep at least 36 inches of clear walkway in a one-cook kitchen and 42 inches where two people pass. Leave at least 15 inches of counter on one side of the range and 12 inches on the other, and aim for a minimum 24-inch-wide landing beside the sink. If a candidate layout cannot meet those numbers, the plan is wrong for the room, not the other way around.
Compare the trade-offs side by side. Galley and single-wall plans win on efficiency and cost because they touch fewer walls. L-shaped and U-shaped plans win on storage and counter but consume more floor area and usually cost more in cabinetry and countertop.
The four common small kitchen plans each suit different room sizes and trade-offs, as summarised below.
Layout | Best for | Key trade-off |
Galley | Narrow rooms, about 7 to 10 ft wide | Two cooks cannot easily pass |
L-shaped | Rooms at least 8 by 8 ft, one corner free | Less continuous counter |
U-shaped | Rooms at least 9 by 9 ft, one open side | Encloses the cook |
Single-wall | Rooms under 7 ft deep or open-plan | Limited counter and storage |
Step 3: Plan Storage From Floor to Ceiling
Small kitchens often waste their tallest space. Upper cabinets that reach the ceiling hold more than standard heights and keep clutter off the counters.
Consider these storage options:
Ceiling-height cabinets for seldom-used items
Open shelving for everyday dishes, though it needs regular tidying
Wall-mounted rails for utensils and pans
Pull-out pantry units that fit narrow gaps beside the fridge
A spice rack on the inside of a cabinet door
Place frequently used items between hip and shoulder height. Store heavy pots in lower drawers rather than high shelves, which is safer and easier to reach.
Step 4: Place Appliances and Set the Work Triangle
The work triangle connects the sink, stove, and refrigerator. Keep the three points close without crowding the room. In a small kitchen, a total triangle perimeter of about 13 to 26 feet is a common guideline.
Choose compact appliances where possible. A narrower dishwasher, a 24-inch range, or a counter-depth refrigerator can free up valuable floor space.
Also think about where you prepare food. Keep a clear counter beside the sink or the stove, since you will need room for chopping and plating.
Modernizing a Small Kitchen on a Budget
A modern look does not require a full remodel, but the order in which you spend matters more in a small kitchen than in a large one.
Tier 1: Cosmetic refreshes (lowest cost, reversible). Painting cabinets, replacing hardware, swapping a dated faucet, adding under-cabinet lighting, and updating switch plates and outlet covers deliver the largest visual change per dollar. To see a finished example, browse this full kitchen remodel with a vaulted ceiling, which shows a modern look in a real home.
Tier 2: Fixture and surface swaps (moderate cost, partially reversible). Replacing a countertop, a sink, a range hood, or a light fixture modernizes the room without moving walls or plumbing.
Tier 3: Layout changes (highest cost, requires renovation). Moving walls, relocating plumbing or gas lines, and changing the layout plan are renovation work.
Prioritize in this order when the budget is tight. First, fix anything that makes the kitchen unsafe or hard to use: poor task lighting, a blocked walkway, or too few outlets for counter appliances. Second, improve storage so counters stay clear, since clear counters make a small kitchen feel larger than any finish change. Third, refresh surfaces and hardware for the visual update. Fourth, and only if the first three are done, consider layout changes.
Rental-friendly and reversible upgrades. Removable peel-and-stick backsplash tile, plug-in under-cabinet lighting, tension-rod or over-the-door storage, freestanding pantry shelving, and a rolling island or cart add function without permanent changes.
What to skip in a small kitchen. Avoid oversized appliances, deep farmhouse sinks that eat counter, and decorative range hoods that block upper cabinets. For a sense of what a full project can involve, see our kitchen renovation cost breakdown for 2026.
Common Layout Mistakes and How to Avoid Them
Even careful planners run into a few common problems. Watching for them early saves time and money.
Skipping measurements leads to appliances that do not fit
Blocking doors with cabinets or an open dishwasher door
Too few outlets for small appliances on the counter
Ignoring the walkway and creating a path too narrow to pass
Poor lighting that leaves work areas in shadow
Before you finalize a plan, stand in the room and act out a meal. Open every door and drawer. This simple test catches most layout problems.
Booking Your Kitchen Planning Consultation With HELP! Remodeling LLC
Once you have a rough layout, the next step is a professional opinion. A HELP! Remodeling LLC team member will visit your home, discuss the remodel you want, and walk through your plan. Kitchen Renovation Estimate explains what to expect at that visit.
When you are ready to schedule, you can book online for a planning consultation at a time that suits you. Bring your floor plan drawing so the conversation starts with your ideas. Our team at HELP! Remodeling LLC has helped homeowners in Dayton, Ohio and surrounding areas turn cramped kitchens into spaces they enjoy using.
Frequently Asked Questions
What is the best layout for a small kitchen?
The best layout depends on your room shape and how many people cook at once. Galley layouts suit narrow rooms because they keep everything within two steps. L-shaped layouts work well in square rooms and open toward living space. Single-wall layouts fit very narrow spaces but limit counter room. Start by measuring the room and listing your daily tasks, then choose the layout that keeps the sink, cooktop and refrigerator close together without blocking walkways. A clear path of at least 42 inches between counters is a common guideline for comfortable movement.
How do I draw a small kitchen layout?
Measure each wall, the window and door positions, and any outlets or plumbing lines. Transfer those measurements to graph paper at a scale such as one square per foot, or use a free online planner. Mark the fixed items first, then draw cabinets, appliances and the sink to scale. Test two or three arrangements and check that doors and drawers can open fully. Keep a notes column for clearances, such as 36 inches of space in front of a range for safe use.
How can I add storage to a small kitchen?
Use vertical space first. Cabinets that reach the ceiling, open shelving on one wall and wall-mounted rails for knives or utensils free up counter room. Pull-out pantry units and corner carousels make deep cabinets usable. Add a magnetic strip for metal tools and an over-the-door rack for spices or cleaning supplies. Keep frequently used items between shoulder and waist height, and store rarely used appliances on higher shelves.
What should I consider before renovating a small kitchen?
Confirm which walls are load-bearing before moving any plumbing, gas or electrical lines, and ask a licensed professional to check your plans. Decide which features you must keep, such as a window or a specific sink location, and which you can change. Set a budget that includes contingency funds for surprises behind walls. Ask for a written estimate that lists materials, labor and permits. HELP! Remodeling LLC can review your layout and provide a quote, and current pricing depends on the scope of work, materials and timing.


Comments